 Critical Threat Research : The Iranian Cyber War Intensifies!
 Comprehensive Threat Exposure Management Platform
The National Vulnerability Database adds over 2,000 new CVEs every month. No security team can patch them all, and trying to do so is a fast track to burnout. The organizations that stay ahead of breaches aren’t the ones that scan the most. They’re the ones that follow a structured, repeatable vulnerability management lifecycle to find, prioritize, and fix the exposures that actually matter.
This guide breaks down each stage of the vulnerability management lifecycle, explains what makes each one work, and shows how a mature program turns overwhelming vulnerability data into a focused remediation plan. Whether you’re building a program from scratch or tightening an existing one, this framework will help you reduce real risk and prove it to leadership.
See how Uni5 Xposure automates the full vulnerability management lifecycle. Book a demo.
The vulnerability management lifecycle is the structured, repeatable process organizations use to identify, assess, prioritize, remediate, and verify security vulnerabilities across their entire IT environment. It is not a single scan or an annual audit. It is a continuous cycle that connects security, IT, and engineering teams around a common goal: reducing exploitable risk.
At its core, the lifecycle answers three questions:
A mature vulnerability management lifecycle transforms security from a reactive function, scrambling after each new advisory, into a proactive discipline where the most dangerous exposures are addressed before attackers can exploit them.
Without a defined lifecycle, vulnerability management breaks down in predictable ways:
A structured lifecycle eliminates these problems by providing clear stages, defined ownership, and measurable outcomes at each step.
It’s a common misconception to equate vulnerability management with vulnerability scanning. Scanning is one activity within the lifecycle, specifically the assessment stage. The lifecycle encompasses everything before and after the scan: knowing what assets exist, deciding which vulnerabilities to fix first, actually fixing them, confirming the fixes worked, and reporting on progress over time.
Organizations that treat scanning as the entire program end up with dashboards full of unresolved findings and no reduction in actual risk. The lifecycle is what turns scan data into security outcomes.
The vulnerability management lifecycle follows six stages that build on each other in a continuous loop. While exact terminology varies across frameworks, the core activities are consistent whether you’re following NIST, ISO 27001, or building your own program.
You cannot secure what you don’t know exists. Every vulnerability management program starts with a comprehensive, continuously updated inventory of all assets in the environment.
This includes:
Shadow IT is one of the biggest blind spots in this stage. Employees spinning up unauthorized cloud instances, using personal devices, or deploying unapproved SaaS tools create assets that sit outside your scan scope. If an asset isn’t in your inventory, its vulnerabilities won’t appear in your reports.
Best practices for asset discovery:
A platform that provides total attack surface management ensures that every asset, from on-premises servers to ephemeral cloud containers, is accounted for in the vulnerability management lifecycle.
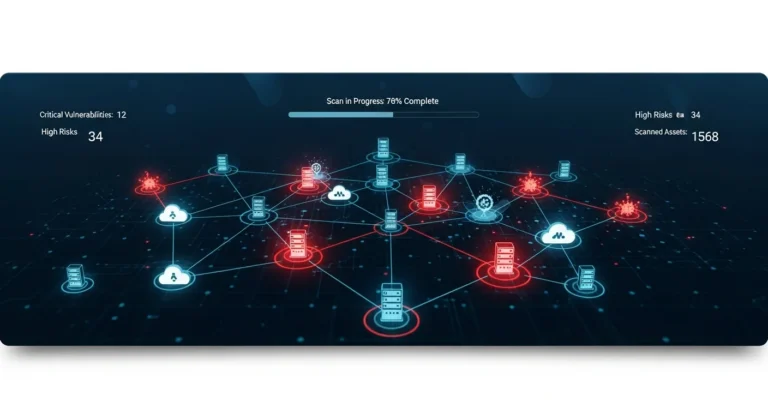
With a complete asset inventory in hand, the next stage is to scan those assets for known weaknesses. This is where most people think vulnerability management starts, but without Stage 1, scanning produces incomplete and misleading results.
Vulnerability assessment involves:
The output of this stage is raw vulnerability data: a potentially massive list of findings, each with a CVE identifier, severity score, affected asset, and description. The challenge is that a typical enterprise scan might return tens of thousands of findings. Without the next stage, this data is noise.
Best practices for vulnerability assessment:
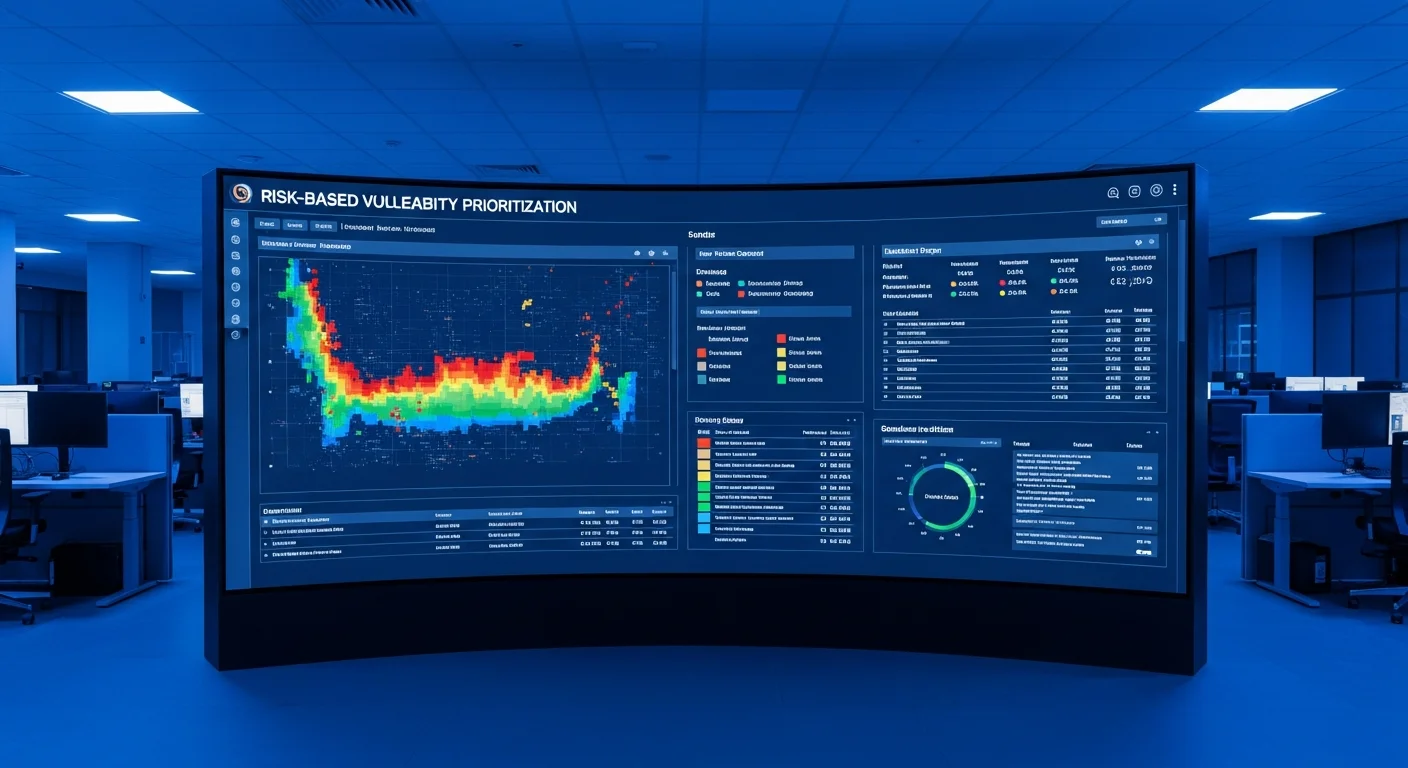
This is the stage that separates mature programs from struggling ones. A vulnerability scan can easily return 10,000+ findings. Trying to fix everything is not just impractical; it’s counterproductive. Your team burns out patching low-risk issues while critical exploitable vulnerabilities sit unaddressed.
Effective prioritization goes far beyond CVSS scores. While CVSS provides a standardized severity rating, it has well-documented limitations:
A risk-based prioritization approach combines multiple factors:
| Factor | What It Tells You |
|---|---|
| CVSS Score | Baseline technical severity |
| EPSS (Exploit Prediction Scoring System) | Probability the vulnerability will be exploited in the next 30 days |
| CISA KEV (Known Exploited Vulnerabilities) | Whether the vulnerability is already being actively exploited |
| Asset Criticality | Business importance of the affected system |
| Data Sensitivity | What data is at risk if the asset is compromised |
| Network Exposure | Is the asset internet-facing or isolated? |
| Compensating Controls | Do existing defenses (WAF, segmentation) reduce exploitability? |
By combining these inputs, security teams can identify the narrow slice of vulnerabilities, often just 2-5% of total findings, that represent genuine, exploitable risk to the business.
Hive Pro’s vulnerability and threat prioritization uses the Unictor engine to score risks based on real-world threat intelligence, asset criticality, and active exploit activity, delivering a focused list of what to fix first rather than an overwhelming wall of alerts.
Best practices for prioritization:
This is where action happens. With a prioritized list of vulnerabilities, the security team works with IT and engineering to apply fixes. Remediation is not always a simple patch, and understanding the available options is essential.
Types of remediation actions:
Remediation at scale requires orchestration. In organizations with thousands of assets, manually creating tickets, assigning ownership, and tracking progress doesn’t work. Automated remediation orchestration integrates with tools like Jira and ServiceNow to:
Hive Pro’s automated remediation orchestration creates and assigns tickets in Jira and ServiceNow with step-by-step remediation instructions for technicians, turning prioritized findings into actionable work orders without manual effort.
Best practices for remediation:
A patch applied is not a vulnerability resolved. The verification stage confirms that remediation actions actually fixed the issue and didn’t introduce new problems.
Verification involves:
This stage is where many organizations cut corners, and it’s exactly where risk creeps back in. Studies show that vulnerability reopen rates above 10% indicate incomplete fixes or inconsistent scanner detection. Each reopened vulnerability adds remediation cycle time and increases the window of exposure.
Hive Pro’s adversarial exposure validation uses breach and attack simulation to safely test whether security controls are working as intended, providing concrete evidence that your remediation efforts have neutralized the threat.
Best practices for verification:
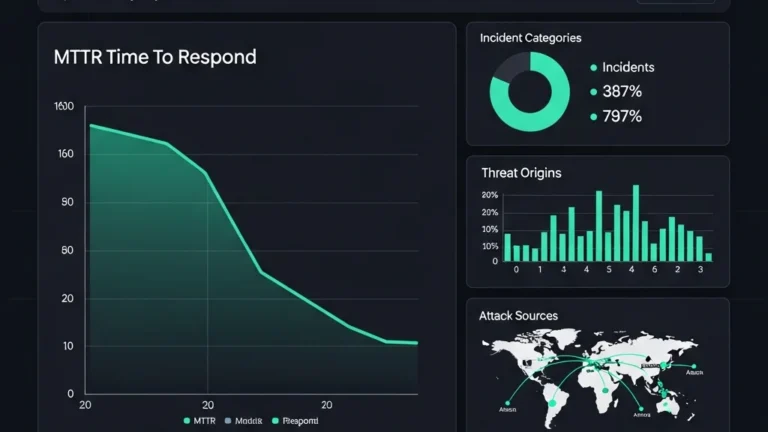
The final stage turns vulnerability management data into business intelligence. Reporting serves multiple audiences: technical teams need detailed vulnerability data, while executives need risk trends and program effectiveness metrics.
Key metrics to track and report:
| Metric | What It Measures | Target |
|---|---|---|
| MTTR (Mean Time to Remediate) | Average time from discovery to verified fix | Critical: <7 days, High: <30 days |
| Vulnerability Density | Open vulnerabilities per asset | Trending downward |
| SLA Compliance | Percentage of vulns remediated within SLA | >85% |
| Scan Coverage | Percentage of assets being actively scanned | >95% |
| Reopen Rate | Percentage of vulnerabilities that recur after remediation | <10% |
| Risk Score Trend | Aggregate risk posture over time | Improving quarter-over-quarter |
Continuous improvement activities:
Hive Pro’s real-time dashboards and compliance reporting provide customizable views for different stakeholders, from granular technical detail for security teams to executive-level risk posture summaries for the board, and track key metrics like MTTR and SLA adherence automatically.
Even well-designed programs encounter obstacles. Here are the most common challenges and practical solutions:
The problem: Scanners generate thousands of findings. Teams can’t patch fast enough.
The solution: Implement risk-based vulnerability management. Focus on the 2-5% of vulnerabilities with active exploits targeting critical assets. Automate remediation ticketing and tracking to reduce manual overhead.
The problem: Shadow IT, untracked cloud resources, and ephemeral containers create blind spots.
The solution: Deploy continuous discovery across all environments. Integrate with cloud APIs and endpoint agents. Assign every asset an owner and a criticality classification.
The problem: Network scanners, application scanners, cloud tools, and pen test results live in separate systems with no unified view.
The solution: Consolidate findings into a unified platform that normalizes, deduplicates, and correlates data from all sources. A platform like Uni5 Xposure aggregates data from scanners like Tenable, Qualys, and Snyk into a single prioritized view.
The problem: Tickets sit in queues. Ownership is unclear. SLAs are missed.
The solution: Automate ticket creation with detailed remediation steps. Integrate directly with Jira or ServiceNow. Track MTTR by team and escalate overdue items automatically.
The problem: The security team can’t articulate risk reduction in business terms.
The solution: Report on business-level metrics (risk score trends, exposure reduction, SLA compliance) rather than raw vulnerability counts. Show the delta between unmanaged risk and managed risk over time.
The vulnerability management lifecycle is essential, but it’s not the complete picture. Modern threat landscapes demand a broader approach: Continuous Threat Exposure Management (CTEM).
CTEM extends the vulnerability management lifecycle by incorporating:
The relationship is complementary: the vulnerability management lifecycle provides the foundational process (discover, assess, prioritize, remediate, verify, report), while CTEM adds proactive validation and broader exposure context. Organizations that combine both achieve the most complete view of their cyber risk.
Hive Pro’s Uni5 Xposure platform implements the full CTEM framework end to end, from unified data ingestion and context-aware AI prioritization to breach simulation and automated remediation orchestration. It’s designed to operationalize the vulnerability management lifecycle within a broader exposure management strategy.
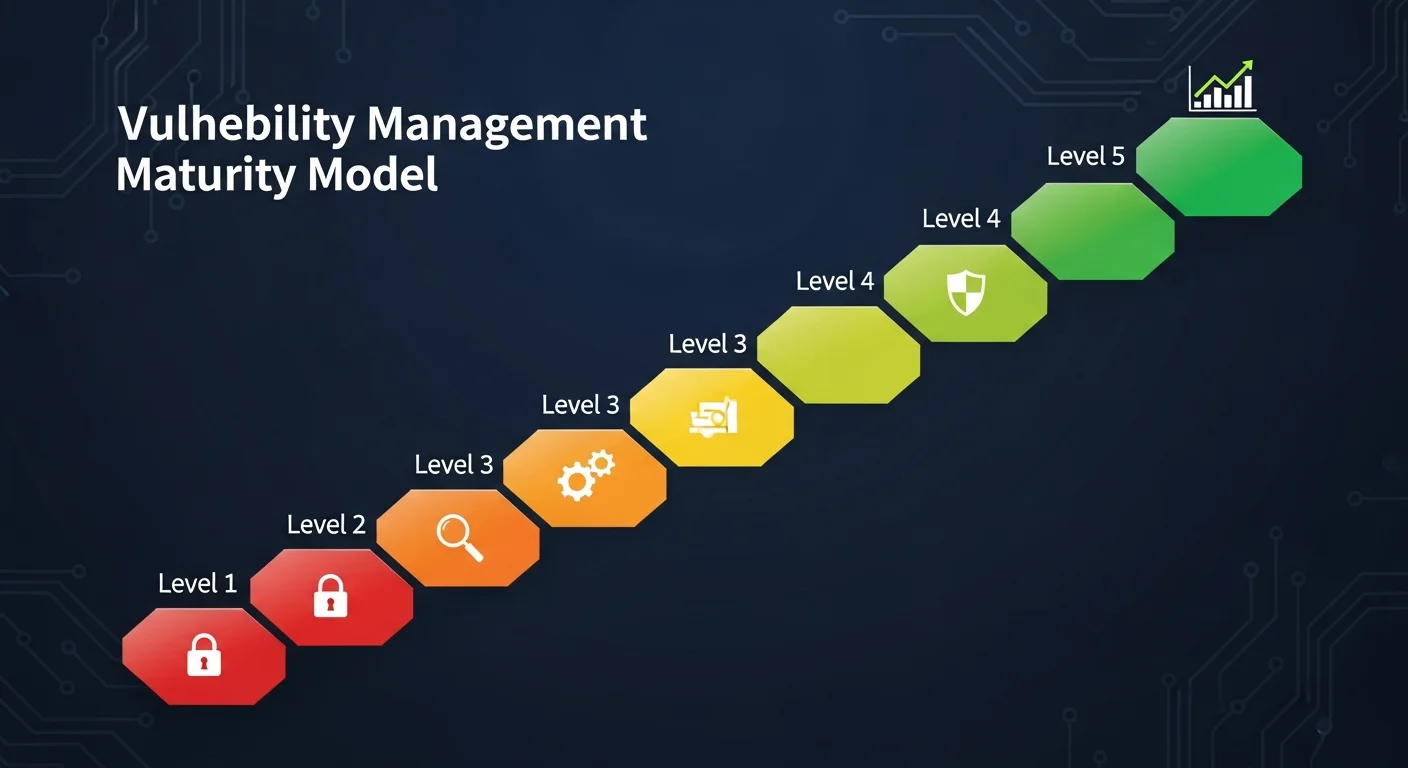
Not every organization starts at the same level. Use this maturity model to assess where you are and plan your next steps:
| Level | Name | Characteristics |
|---|---|---|
| 1 | Ad Hoc | Scans run occasionally. No defined process. Patching is reactive. |
| 2 | Defined | Regular scan schedule. Basic prioritization by CVSS. Manual ticketing. |
| 3 | Managed | Risk-based prioritization. Automated ticket creation. MTTR tracking. |
| 4 | Optimized | Full lifecycle automation. BAS validation. CTEM integration. MTTR under 14 days for critical vulns. |
| 5 | Leading | Predictive analytics. Proactive exposure reduction. Continuous improvement driven by metrics. Vulnerability density trending downward quarter over quarter. |
Most organizations sit at Level 2 or 3. The jump from Level 2 to Level 3, adopting risk-based prioritization and automated remediation, delivers the largest reduction in real-world risk for the effort invested.
Ready to level up your vulnerability management program? Book a demo of Uni5 Xposure.
The vulnerability management lifecycle is a continuous, structured process for identifying, assessing, prioritizing, remediating, verifying, and reporting on security vulnerabilities across an organization’s IT environment. It provides a repeatable framework that transforms ad hoc patching into systematic risk reduction.
The six stages are: (1) Asset Discovery and Inventory, (2) Vulnerability Assessment and Scanning, (3) Prioritization and Risk Analysis, (4) Remediation and Mitigation, (5) Verification and Validation, and (6) Reporting, Monitoring, and Continuous Improvement. These stages form a continuous loop that repeats as new vulnerabilities emerge and environments change.
Vulnerability scanning is just one activity within the broader lifecycle, specifically Stage 2. The full lifecycle encompasses everything before the scan (asset discovery), after the scan (prioritization, remediation, verification), and the ongoing governance around it (reporting and continuous improvement). Scanning without the other stages produces data without risk reduction.
MTTR (Mean Time to Remediate) measures the average time between discovering a vulnerability and confirming it’s fixed. It’s the most important operational metric for a vulnerability management program because it directly reflects how long your organization remains exposed to known risks. Mature programs target MTTR under 14 days for critical vulnerabilities.
Continuous Threat Exposure Management (CTEM) extends the vulnerability management lifecycle by adding attack surface management, attack path analysis, breach and attack simulation, and threat intelligence integration. The vulnerability management lifecycle provides the foundational process; CTEM adds proactive validation and broader exposure context for a more complete risk reduction strategy.
Continuously for cloud and dynamic environments, and at minimum weekly for on-premises critical assets. New vulnerabilities are published daily, and your IT environment changes constantly. Quarterly scanning is no longer sufficient for any organization with a meaningful attack surface.